In today’s rapidly advancing world, security cameras have become an essential component of any comprehensive security system. Whether you want to protect your home, office, or any other property, installing security cameras can provide you with a sense of safety and peace of mind. In this article, we will guide you through the process of installing security cameras, covering everything from planning and camera selection to installation and optimization.
Planning out and installing security cameras involves several key steps to ensure effective coverage and functionality. Here’s a comprehensive guide with 6 steps:
1. Assess Your Security Needs
Before diving into the installation process, it’s crucial to assess your security requirements. Consider the areas you want to monitor, potential blind spots, and the type of camera features you desire. Evaluate whether you need indoor or outdoor cameras, night vision capabilities, motion detection, PTZ, or remote access options. Understanding your security needs will help you make informed decisions during the installation process.
2. Determine Camera Placement
Careful placement of security cameras plays a pivotal role in maximizing their effectiveness. Identify the key areas you want to monitor, such as entry points, driveways, and valuable assets. Ensure the cameras have an unobstructed view and cover as much area as possible. Consider the camera’s field of view, and if necessary, use multiple cameras to eliminate blind spots. Additionally, make sure the cameras are mounted at a height that is out of reach that will make them difficult to tamper with.
We recommend then drawing a layout of your property and mark the locations where you need cameras. Ensure that the cameras cover all critical areas without leaving blind spots. Consider camera range and angle.
3. Select the Right Cameras
With an array of security cameras available in the market, selecting the right one can be overwhelming. Consider factors such as resolution, camera type (bullet, dome, or PTZ), connectivity (wired or wireless), and storage options. High-definition (HD) cameras provide clearer images and are recommended for detailed surveillance. Wireless cameras offer flexibility in terms of installation but require a reliable network connection and power source.
For outdoor cameras, ensure they are weatherproof and can withstand the elements. Choose cameras with infrared or other night vision capabilities for low-light conditions. Choose cameras that align with your specific security needs and budget before you begin installing security cameras.
4. Gather the Necessary Equipment
To successfully install security cameras, gather the required tools and equipment. Commonly needed items include:
- Cameras: Based on your assessment, purchase the selected cameras.
- Cables and Connectors: Ensure you have the appropriate cables (coaxial or Ethernet) and connectors for a secure and reliable connection.
- Power Supply: Depending on the camera type, you may need individual power adapters or a centralized power supply with a distribution box like a PoE switch.
- Mounting Hardware: Select the appropriate mounts, brackets, junction boxes, and screws to securely install the cameras.
5. Install and Configure the Cameras
Now that you have all the necessary equipment, it’s time to install and configure the security cameras:
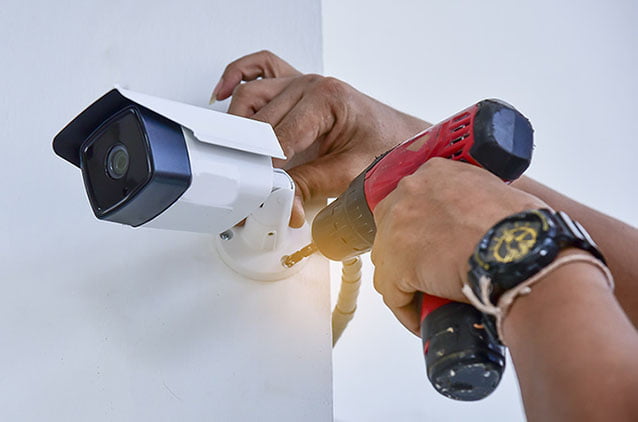
- Mount the Cameras: Follow the manufacturer’s instructions to securely mount the cameras in the predetermined locations. Ensure they are angled correctly to capture the desired field of view.
- Connect the Cables: Connect the camera cables to the designated ports on the cameras and run them to a central location where the recording equipment will be placed.
- Establish Power Supply: Provide power to the cameras by connecting them to the power source. Ensure all power connections are secure and protected from weather conditions.
- Configure the Cameras: Access the camera’s configuration settings through a computer or mobile device and adjust parameters such as date and time, resolution, motion detection, and recording preferences. Set up any additional features or notifications according to your preferences.
6. Test and Optimize
After installation, it’s vital to test and optimize your security camera system:
- Check Camera Feeds: Verify that each camera is transmitting video feed to the recording equipment or monitoring software.
- Adjust Camera Angles: Fine-tune the camera angles if necessary to eliminate blind spots or improve coverage.
- Test Recording and Playback: Trigger motion events or manually record footage to ensure the cameras are recording properly. Test playback functionality to confirm that recorded footage is accessible.
- Consider Lighting Conditions: Evaluate the lighting conditions during the day and night to determine if additional lighting sources are required to improve image quality.
Installing Security Cameras Conclusion
Installing security cameras is an effective way to enhance the safety and security of your property. By following the steps outlined in this guide, you can ensure proper camera placement, select suitable equipment, and successfully install and configure your security camera system. Remember to periodically review and maintain your cameras to ensure they continue to operate optimally and provide you with the desired level of security.
If you need assistance or are looking for a professional for installing security cameras, contact Pennyrile Technologies for a free quote. As professional security camera installers, we possess the necessary expertise and experience to handle all aspects of the installation process. You can also rest assured that you will be provided with high-quality security cameras and equipment and be confident in the reliability and performance of your security camera system.

