Guides

Speed-Up-Windows-10-Part-Two

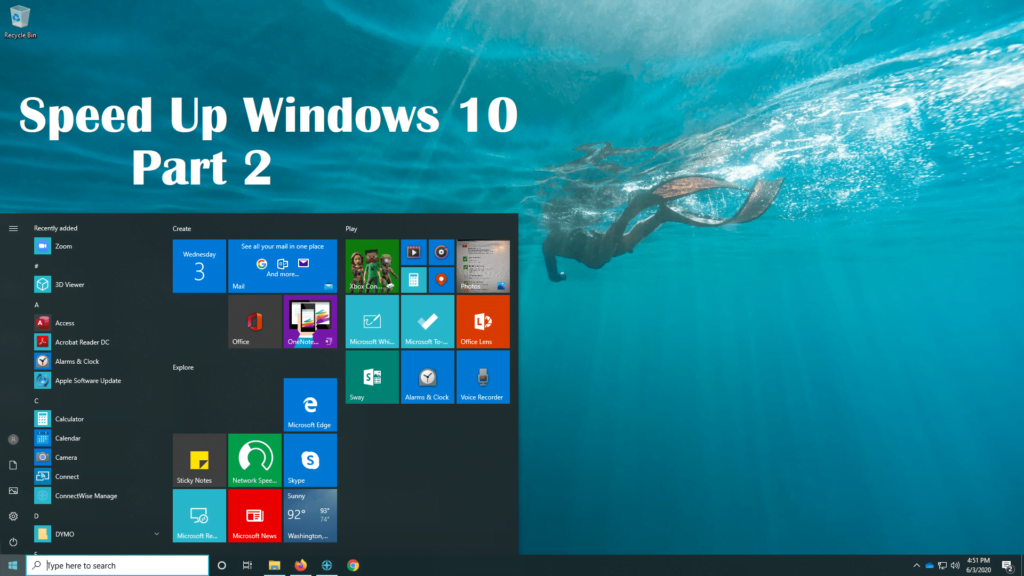
Speed Up Your PC With These 4 Tips

You probably don’t need us to tell you that there are a lot of things that can slow down your PC. If you’re looking to improve the overall speed of your machine, we’re here to continue some useful tips to help you along. Earlier, I began a series of quick tips to speeding up your computer.  In that article, we covered Computer Settings, Startup Programs, Disk Cleanup, and Adware & Bloatware removal. This time we are going to continue with a few more tips on increasing the performance of your computer. For those who did not read the first article but would like to, check out 4 Quick Tips To Speed Up Your PC. Defragment Your Hard Drive Lets talk about organization. Your hard drive must organize the data that is put on it.  With more data comes more responsibility.  So, to help your hard drive stay organized it is recommended that you defragment your hard drive regularly. Defragmentation involves moving all of the files on your hard disk so that the operating system can read them more quickly and efficiently. Usually this is done automatically by your operating system but sometimes it can be missed. (Note:  If you have a SSD then it is not recommended to Defragment your Drive because it could shorten its’ life.) To Defragment your hard drive 1:  Go to the Start menu. 2:  Scroll down to Windows Administrative Tools and click. 3:  Select and Click Defragment and Optimize Drives. 4:  Select the drive you would like to Defragment and Click Optimize. 5:  Wait for Defrag to complete its work. Adjust PC Power Settings After defragmenting, your computer might still be slow. This is a good opportunity to change your power settings. There are 3 types of default power settings:  Power Saver, Balanced, and High-Performance. Having your computer set to Power Saver saves on power usage but at the cost of performance, which can slow down your computer. The Balanced setting is the in between for the other two settings.  Lastly, the High-Performance setting uses more power to get the best performance. The later of the settings will eat up the power of your battery provided you are using a Laptop. To change your Power settings 1:  Go to the Start Menu 2:  Click on Windows System and Select Control Panel. 3:  In Control Panel Click on System and Security 4:  Click on Power Options. 5:  Select the High-Performance. (Note:  If you have Control Panel set to Large or Small Icons then click on Power Settings.) Turn Off File Indexing Now that you have set your power settings to your liking, lets move on to Indexing.  Indexing allows you to use the Windows 10 search function more efficiently.  It does this by indexing the files on your drives. The Indexing Service uses CPU and RAM to search for a file that you want to find.  This can slow down a computer that is already taxed on CPU and RAM usage. By turning file indexing off, it can help speed up your PC. To shut down the Windows Indexing Service 1:  Go to the Start Menu and scroll to Windows Administrative tools and click, then select and click Services. 2:  When the Services Window opens, scroll down to “Windows Search” and Right click on it and select Properties. 3:  In the Properties window click on “Stop”. The Windows Search service is the active Indexing service. Stopping this service will free up resources at the cost of being able to search quickly for your files or apps. (NOTE:  While performing actions within Services, you must have administrator privileges to make changes) Alternatively, you can turn off the file indexing for specific folders and locations by going to Start > Settings > Control Panel. Then select System and Maintenance. Click the Advanced tab, and under Performance Options, uncheck Index Now. Adjust Paging File The next item we will look at is the system paging file. This is often called Virtual Memory. This is space on your drive, usually on the C: Drive, where data can be stored that was not able to fit on the RAM of your machine. Usually, windows automatically manages this for you but sometimes you do have to take matters into your own hands. If you do not feel comfortable with changing the paging file, I recommend reading more about it and making your best judgement. To Adjust the Windows Paging File 1:  Click on File Explorer, which is the folder icon, on your task bar at the bottom of the screen.   2:  While in File Explorer, Right click on “This PC” and select “Properties”. 3:  In the System Window, Click on Advanced Settings. 4:  In System Properties, Click Settings under Visual Performance. 5:  At the top of the Performance Options window, click the Advanced Tab and click Change under Virtual Memory. 6:  In this window, you will need to know how much RAM you have in your computer.  Below is the recommended setting for a computer with 8GB of RAM.  To figure out how much Virtual Memory you will need, Multiply the amount of Ram you have by 1024.  Then Multiply that with 1.5 and 4.  They will both be the minimum and Maximum amount of Virtual Memory you will want. Here is how I figured the Initial Size and Maximum Size. I have 8GB of RAM 1GB of RAM is 1024 You would want at least 1.5 times the amount of Virtual Memory for your Initial Memory and 4 times that for your Maximum. 8GB Multiplied by 1024 would be 8194 8194 Multiplied by 1.5 would be 12280 8194 Multiplied by 4 would be 32768 I hope this Article helps to speed up your PC.  Please keep a look out for future articles where I will telling you how to set up Ready Boost and a couple of other ways you can potentially speed up your computer. Feeling intimidated by these steps? We also perform Computer Maintenance & PC Repair

Speed Up Your PC With These 4 Tips Read More »

Guide to Speed Up Windows 10

4 Quick Tips To Speed Up Your PC

For most people regular maintenance on their PC is far from their mind. So we’ve put together 4 quick tips that can help speed up your Windows 10 PC. We hope to followup with some additional tips in the future including some more advanced guides. Change Computer Settings to Best Performance You can change the visual effects of your computer so it doesn’t have to spend as much resources on rendering and animating windows. To do this: 1. Go to File Explorer – Click the folder on your task bar at the bottom of your desktop. You can also type in “File Explorer” in the search menu. 2. Right click on This PC on the left side of the window. 3. On the upper left side of the screen, left click on Advanced System Settings. 4. In the popup window check to make sure the Advanced Tab is selected and click the Settings button under Performance. 5. Choose between the Options listed under the Visual Effects Tab.  You can Adjust for best appearance, Adjust for best performance, or Customize the changes yourself by selecting what you want to disable in the box below the Custom bullet. If you have an older or slower PC, we recommend choosing Adjust for best performance. Disable Startup Programs You might have issues when you first turn on your computer.  You sit and type in your login information and it takes forever for you to be able to do anything on your desktop. You might have more than a couple of programs that are starting up that you don’t necessarily need right away. The more programs that run at startup, the longer it will take for your PC to fully boot. To check this: 1. On your keyboard, press the Ctrl+Alt+Del keys – this will bring up a menu. 2. Click on Task Manager. 3. At the top of the window you will see Tabs.  Click on the one that says Startup. 4. After you have clicked on startup, you will see a list of programs that begin to run when your computer starts.  These can be disabled by selecting them and clicking the Disable button on the bottom of the screen. Try disabling items that have Medium to High impact. Note: If you make a mistake you can always click the button again to enable the program again. Run Disk Cleanup When you are done with clearing up the startup programs, you can try running disk cleanup next. Having a full hard drive could cause your computer to work harder to locate programs and files.  Let us clear out a little space so you can ease the burden on you computer and recover some disk space. 1. Click on the Start Menu, scroll down and select and click Windows Administrative Tools, then click on Disk Cleanup. 2. If you have more than one drive, you may be prompted to choose which one to cleanup. Choose the C: drive if prompted. You will then be prompted with a box where you can select what types of files you would like to delete. Click on all options except for Downloads, unless you are OK with Disk Cleanup deleting all files in your Downloads folder. Clicking on any of the options will also give you a brief description of the contents. When you are satisfied with your selections, you can click OK at the bottom of the Dialog Box and you will get a prompt that will ask if you are sure you want to delete the files. When you are ready you then click on Delete Files. 3. (Optional) If you would like to recover even more space, you can click on the Clean up system files button at the bottom of the Disk Cleanup box and you will get another box with more options including Windows Update Cleanup, Windows Upgrade Log Files, and more.   Remove Adware & Bloatware Adware and bloatware aren’t always bad. In fact, they can actually help you by offering free content like news, weather reports, and other helpful information. However, these applications also tend to slow down your machine, and you may have trouble removing them. Also, when installing a program, a software vendor may sneak in bloatware or adware which can cause the computer to slow down or cause problems with the operating system. If this happens, then you should consider using a program that can clean up your system. Here are some tips that will help you identify what’s causing the slowdown. First, look at the startup process. You’ll notice that your operating system loads a lot of different programs automatically. For example, Windows starts with the browser, but it also launches the mail client, the calculator, and the clock. You need to make sure that you don’t load any unnecessary software. To do this, you should go into the Control Panel, select Add/Remove Programs, then click on “Uninstall a Program.” If your PC is slowed because of unwanted software or bloatware, and the normal Add\Remove programs method isn’t helping, then it may be time to use a third-party software. Malwarebytes can be a useful tool in finding and removing such software. It’s free for personal use too! You can download Malwarebytes here. 1. Proceed to download and install Malwarebytes. 2. When prompted to Buy Now, Activate License, or Maybe Later, choose Maybe Later and then Get Started. If you want the premium version of Malwarebytes, you can choose to Buy Now if you prefer. The primary difference between the Premium and Non-Premium version is the Premium can run automatic updates, scans and removals for you. The free version requires you to start a scan manually. You will also be given a free 14-Day trial of the software if this is the first time you are installing it. 3. Click Scan on the Malwarebytes home screen. 4. Depending on the speed of your PC, the scan can take anywhere from a few minutes to a few hours.

4 Quick Tips To Speed Up Your PC Read More »